
Share
Everything you need to know about lamination
Lamination protects documents, photos, and other materials from damage while enhancing their appearance. Choose Four zeros for top-quality professional lamination.

Everything you need to know about lamination
Lamination is a popular technique that protects documents, paper, and other materials from damage, moisture, and being worn out. This method does not only enhance the durability of your printed materials but also gives them an elegant appearance. In this article, we’ll explain what document lamination, photo lamination, and card lamination involve, as well as the benefits of this process.
What is lamination?
Lamination of paper is the process of coating the surface with a thin layer of protective film that shields documents from mechanical damage, moisture, dirt, and UV radiation. This method serves both practical and aesthetic purposes, as the film can be either glossy or matte, depending on the desired effect.
Benefits of lamination for documents and cards
Protection from damage: Lamination is the perfect way to shield important papers such as certificates, contracts, or diplomas. Laminated documents become more resistant to tears and stains.
Aesthetic appearance: Lamination of photos and other materials adds a glossy or matte finish, giving them a more professional appearance.
Weather resistance: Laminated printed materials are protected from moisture, making them ideal for outdoor use, such as posters or advertising signs.
Durability: Laminating cards or flyers ensures they can be reused multiple times without getting damaged. This is especially useful for restaurant menus or maps.
Types of lamination
Hot lamination: This method uses heat to apply a protective film. The process is quick, and the results are long-lasting. It is commonly used for laminating photos and important documents.
Cold lamination: In this method, the film is applied without heating, making it ideal for delicate materials that could be damaged by high temperatures.
Matte and glossy lamination: The choice between matte and glossy finishes depends on the purpose of the materials. Matte laminate adds an elegant touch to documents, while glossy laminate enhances colors and details.
How to laminate documents: step-by-step guide
For those who want to protect their materials at home, the laminating process is quite straightforward. Here’s how to do it:
- Prepare your materials: Select the documents you want to protect and choose the appropriate type of laminating film.
- Set up the laminator: If you’re using a laminator, turn it on and adjust the settings according to the thickness of the film (usually 80–125 microns).
- Place the sheet in the film: Insert the document into a laminating pouch, ensuring it is properly aligned.
- Run through the laminator: Feed the pouch with the document into the machine, following the manufacturer’s instructions.
- Cool and trim: After laminating, let the film cool down, then trim the edges if necessary.
How to laminate cards and photos
- How to laminate a card
- Choose a laminator and film that match the size of the card.
- Follow the steps for laminating documents.
- How to laminate photos
- Use high-quality laminating film to preserve the vibrancy of colors.
- Opt for glossy film to enhance details and color richness.
Print lamination: practical applications
Print lamination is widely used across various industries, including:
- Advertising and marketing: Flyers, posters, and business cards.
- Gastronomy: Menus resistant to dirt and moisture.
- Tourism: Maps frequently folded and used in different conditions.
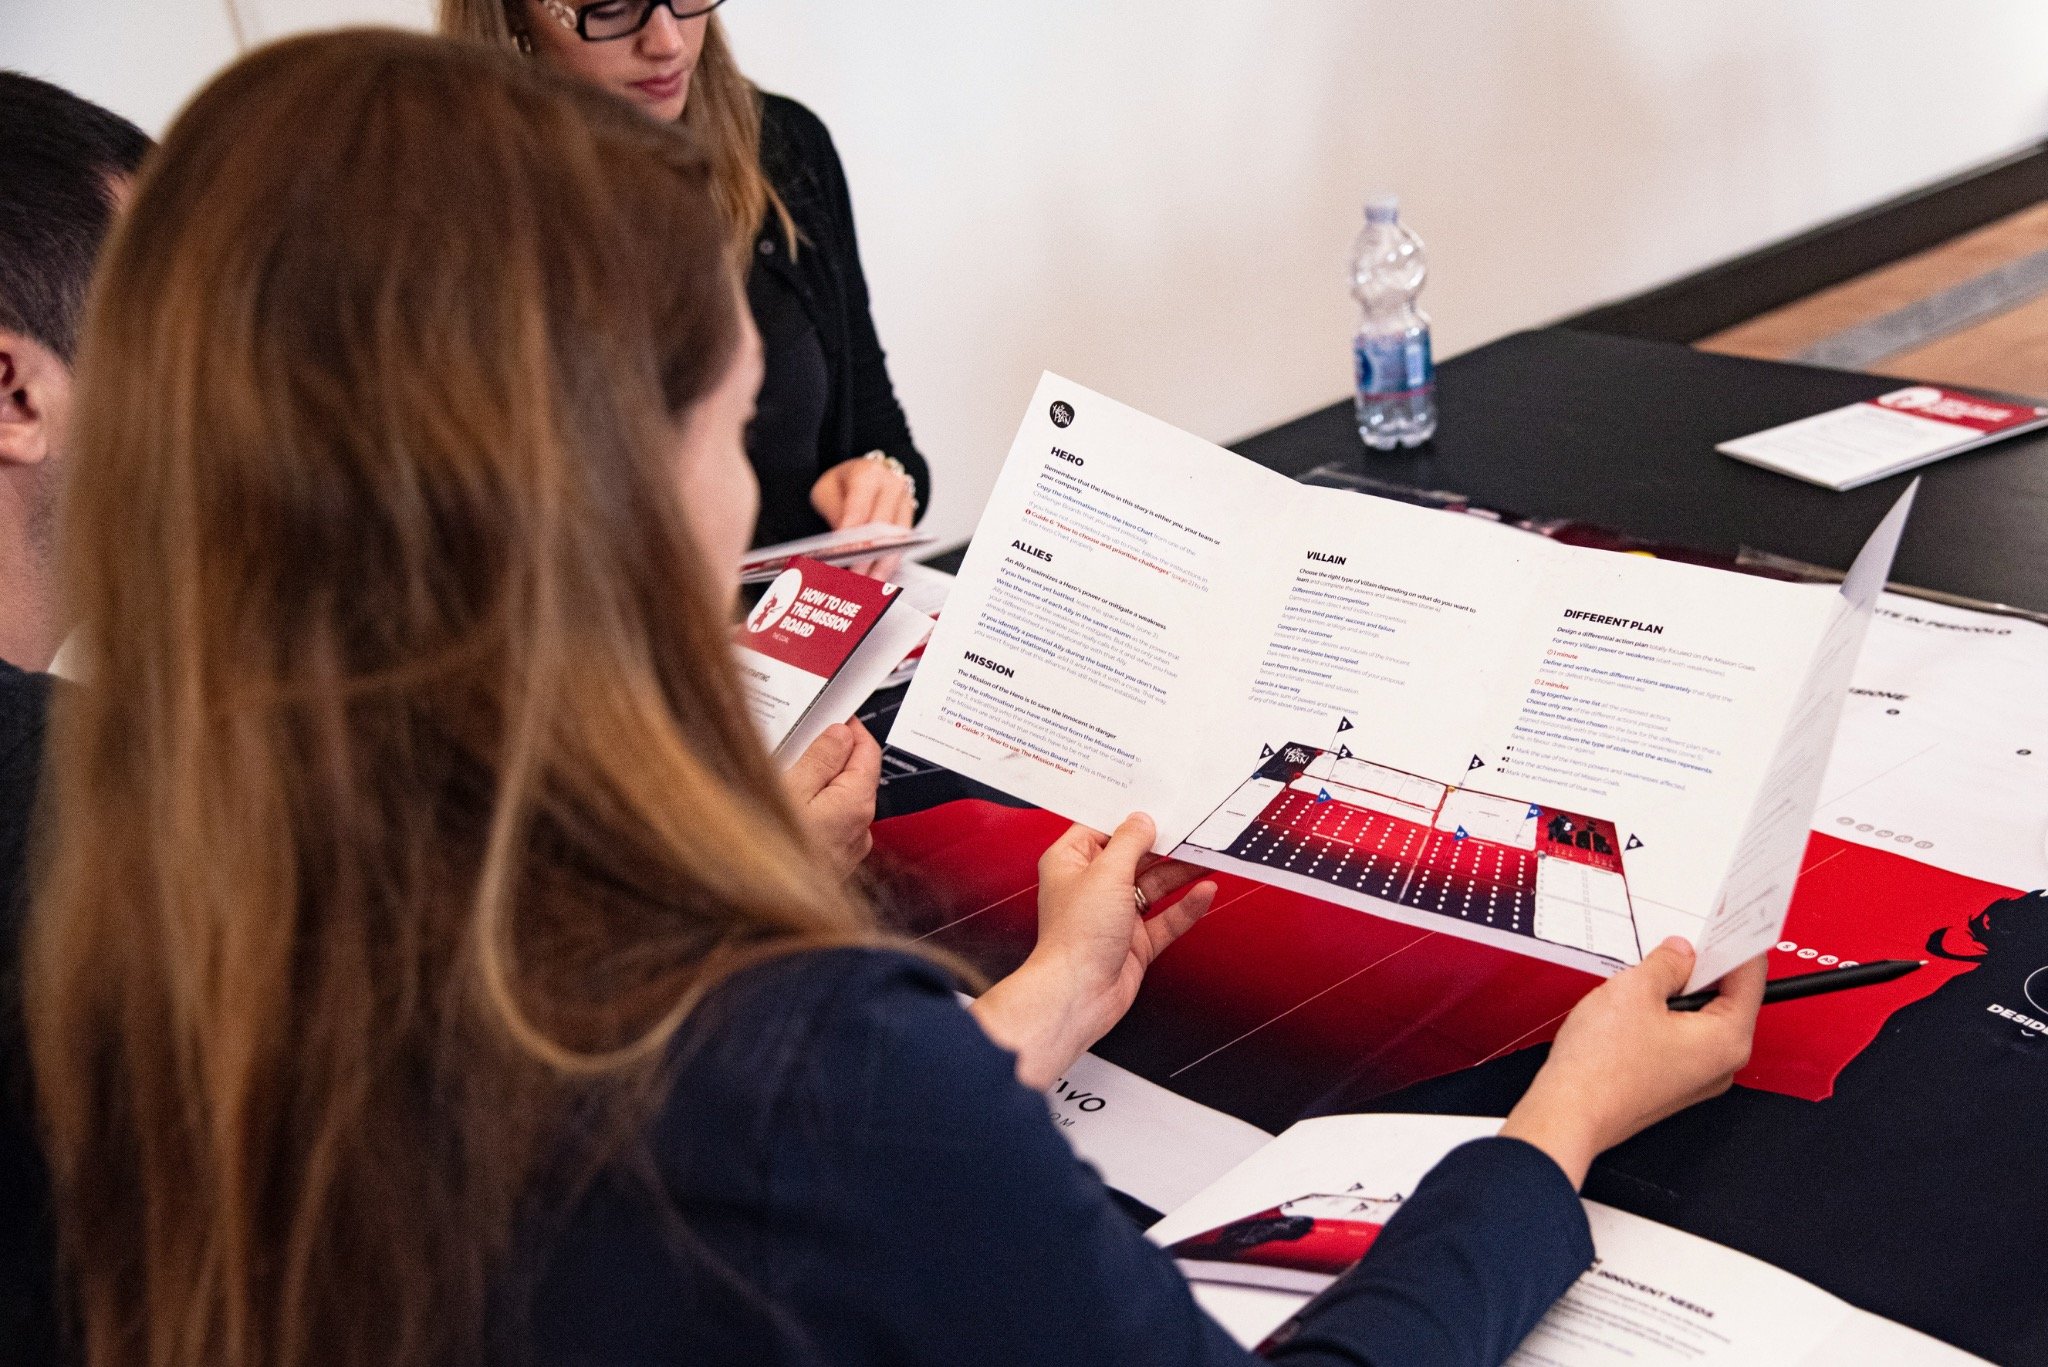
- Education: Instructions and learning materials designed for long-term use.
What materials should be laminated?
- Documents: Certificates, diplomas, contracts.
- Photos: Family pictures, exhibition prints.
- Cards and flyers: Advertising materials that need to be durable.
- Educational materials: Posters, instructions.
Why laminate at Four zeros?
If you expect professional results, Four zeros offers top-quality laminating services. Here’s why you should choose us:
- High-quality materials: We use only trusted laminating films that ensure durability and an aesthetic appearance.
- Modern equipment: Our machines deliver precise lamination, regardless of the format.
- Wide range of applications: We offer lamination for both documents and large formats, such as posters and maps.
- Personalized approach: We assist clients in selecting the right type of lamination based on their specific needs.
Summary
Laminating documents, cards, photos, or advertising materials is an excellent way to protect them while enhancing their aesthetic appearance. In this article, we explained how to laminate, the different types of lamination, and the benefits of this process. If you’re looking for professional laminating services, turn to Four zeros print center — we guarantee high quality and a result that meets your expectations.
Znajdź więcej produktów, które pasują do Twoich potrzeb
Powiązane produkty

Menu
We create unique and attractive menus for restaurants and events.
from
33
zł

Posters
We create posters that capture attention and convey your message and style. Use vibrant colors and design to stand out from the rest.
from
13
zł
Presentations
Learn how we can turn your ideas into professional presentations.
from
100
zł
Our mission is to help you realise your ideas and achieve success.
You might also be interested in
A place where you will find plenty of inspiration and practical tips.
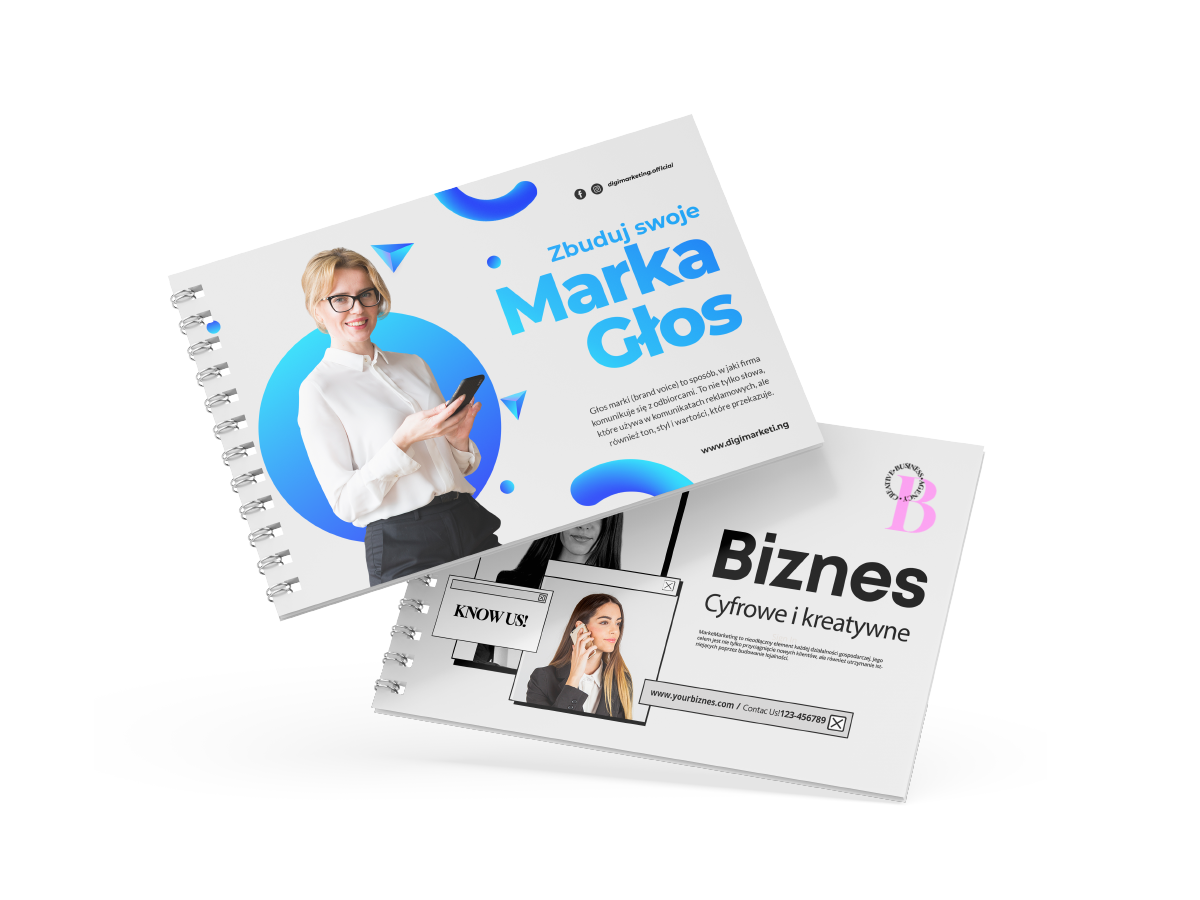
Advertising brochure – what is it and how to create one?
Doloribus vel blanditiis non, aliquid deserunt reiciendis doloribus at vel error necessitatibus det.
In the world of print marketing, an advertising brochure is one of the most effective promotional tools. It is used by both small businesses and large corporations to provide clients with essential information about products, services, or the brand itself. But what exactly is an advertising brochure, and how can you create one properly to ensure it truly works? In this article, we will explore the key principles of brochure development, share design tips, and provide an example of a brochure that can serve as inspiration.
What is an advertising brochure?
An advertising brochure is a printed marketing material that provides information about a company, its products, services, or upcoming events. It can come in various formats, with different numbers of pages and folding styles. The main purposes of a brochure include:
- Presenting an offer in an appealing way
- Shaping a positive company image
- Informing clients about a product or service
- Supporting marketing and sales campaigns
A well-designed advertising brochure combines clear information with a visually appealing design, capturing attention and motivating potential customers to take action.
Types of advertising brochures
Depending on a company's goals and budget, advertising brochures can be categorized into several main types:
Single-page (flyer) – A quick and convenient way to present key information in a compact format.
Double-sided folded brochure (leaflet) – Commonly used in real estate, tourism, and gastronomy.
Multi-page brochure (e.g., A4 or A5 format) – Provides a detailed overview of a product or service with rich graphics and text.
Catalogs and brochures with full product descriptions – Typically include technical specifications and are widely used in e-commerce.
Each type has its own advantages, and the right choice depends on the company's marketing needs.
How to write an effective advertising brochure?
1. Define the purpose
Before writing the content, ask yourself: What is the goal of this brochure?
Is it meant to boost sales?
Does it aim to introduce the brand?
Is its main function to inform about a product or service?
Clearly defining the purpose will help structure the content effectively and choose the right design approach.
2. Create an attention-grabbing headline
The first element that captures attention is the headline. It should be intriguing and immediately convey why the information is relevant to the reader.
Examples of effective headlines:
✔ "Discover the new generation of eco-friendly cosmetics!"
✔ "5 reasons to choose our company"
✔ "Your perfect kitchen in 7 days – check out our offer!"
The headline should spark interest and motivate the reader to continue.
3. Make the text easy to read
For an advertising brochure to be effective, it must be clear and easy to digest. It's important to have:
Short paragraphs – Long blocks of text make reading difficult.
Bullet points – These help the reader absorb information faster.
A logical structure – Each page or section should have a clear purpose (e.g., company introduction, product presentation, contact details).
📢 Tip! Place the most important details in the most visible areas, such as the first page or the center of the brochure.
4. Use benefit-oriented language
The text should focus on what the client will gain, rather than just describing the product.
❌ "Our company manufactures high-quality sports equipment."
✅ "With our equipment, you'll achieve your ideal shape faster!"
Tip! Avoid overly technical information unless the brochure is aimed at specialists in the field.
5. Add a Call to Action (CTA)
Every advertising brochure should include a clear Call to Action (CTA). What should the reader do after viewing the brochure?
✔ "Call us now and get a free consultation!"
✔ "Visit our website and take advantage of our special offer!"
✔ "Sign up today and get a 10% discount!"
The CTA should be noticeable and motivating.
6. Choose the right design
An effective advertising brochure should be not only informative but also aesthetically pleasing. Important design elements include:
High-quality images – At least 300 dpi, ideally custom or professional photos.
A consistent color scheme that aligns with the brand's style – A harmonious color scheme creates a positive impression.
Readable fonts – Avoid overly decorative or hard-to-read options.
Tip! Excessive use of graphic elements and different fonts can make the brochure confusing.
Example of a brochure – structure
Here’s an example of an optimal brochure structure:
Page 1 – Cover
- Company logo
- Engaging headline
- Main graphic
Page 2 – About the company
- Brief history
- Unique features
Page 3 – The offer
- Description of products or services
- Key benefits
Page 4 – Customer reviews
- Comments and case studies
Page 5 – Contact information
- Phone, email, website
This format will make the brochure logical and easy to digest.
Conclusion
A well-crafted advertising brochure is an effective marketing tool that helps attract customers and increase brand recognition. The key stages of its preparation include:
Clear goal definition
Engaging headline and logical structure
Use of benefit-driven language and a call to action
Professional design
If you need brochure printing services, contact Four zeros – we guarantee high quality and a professional approach!
Get in touch with us today and make your business stand out!
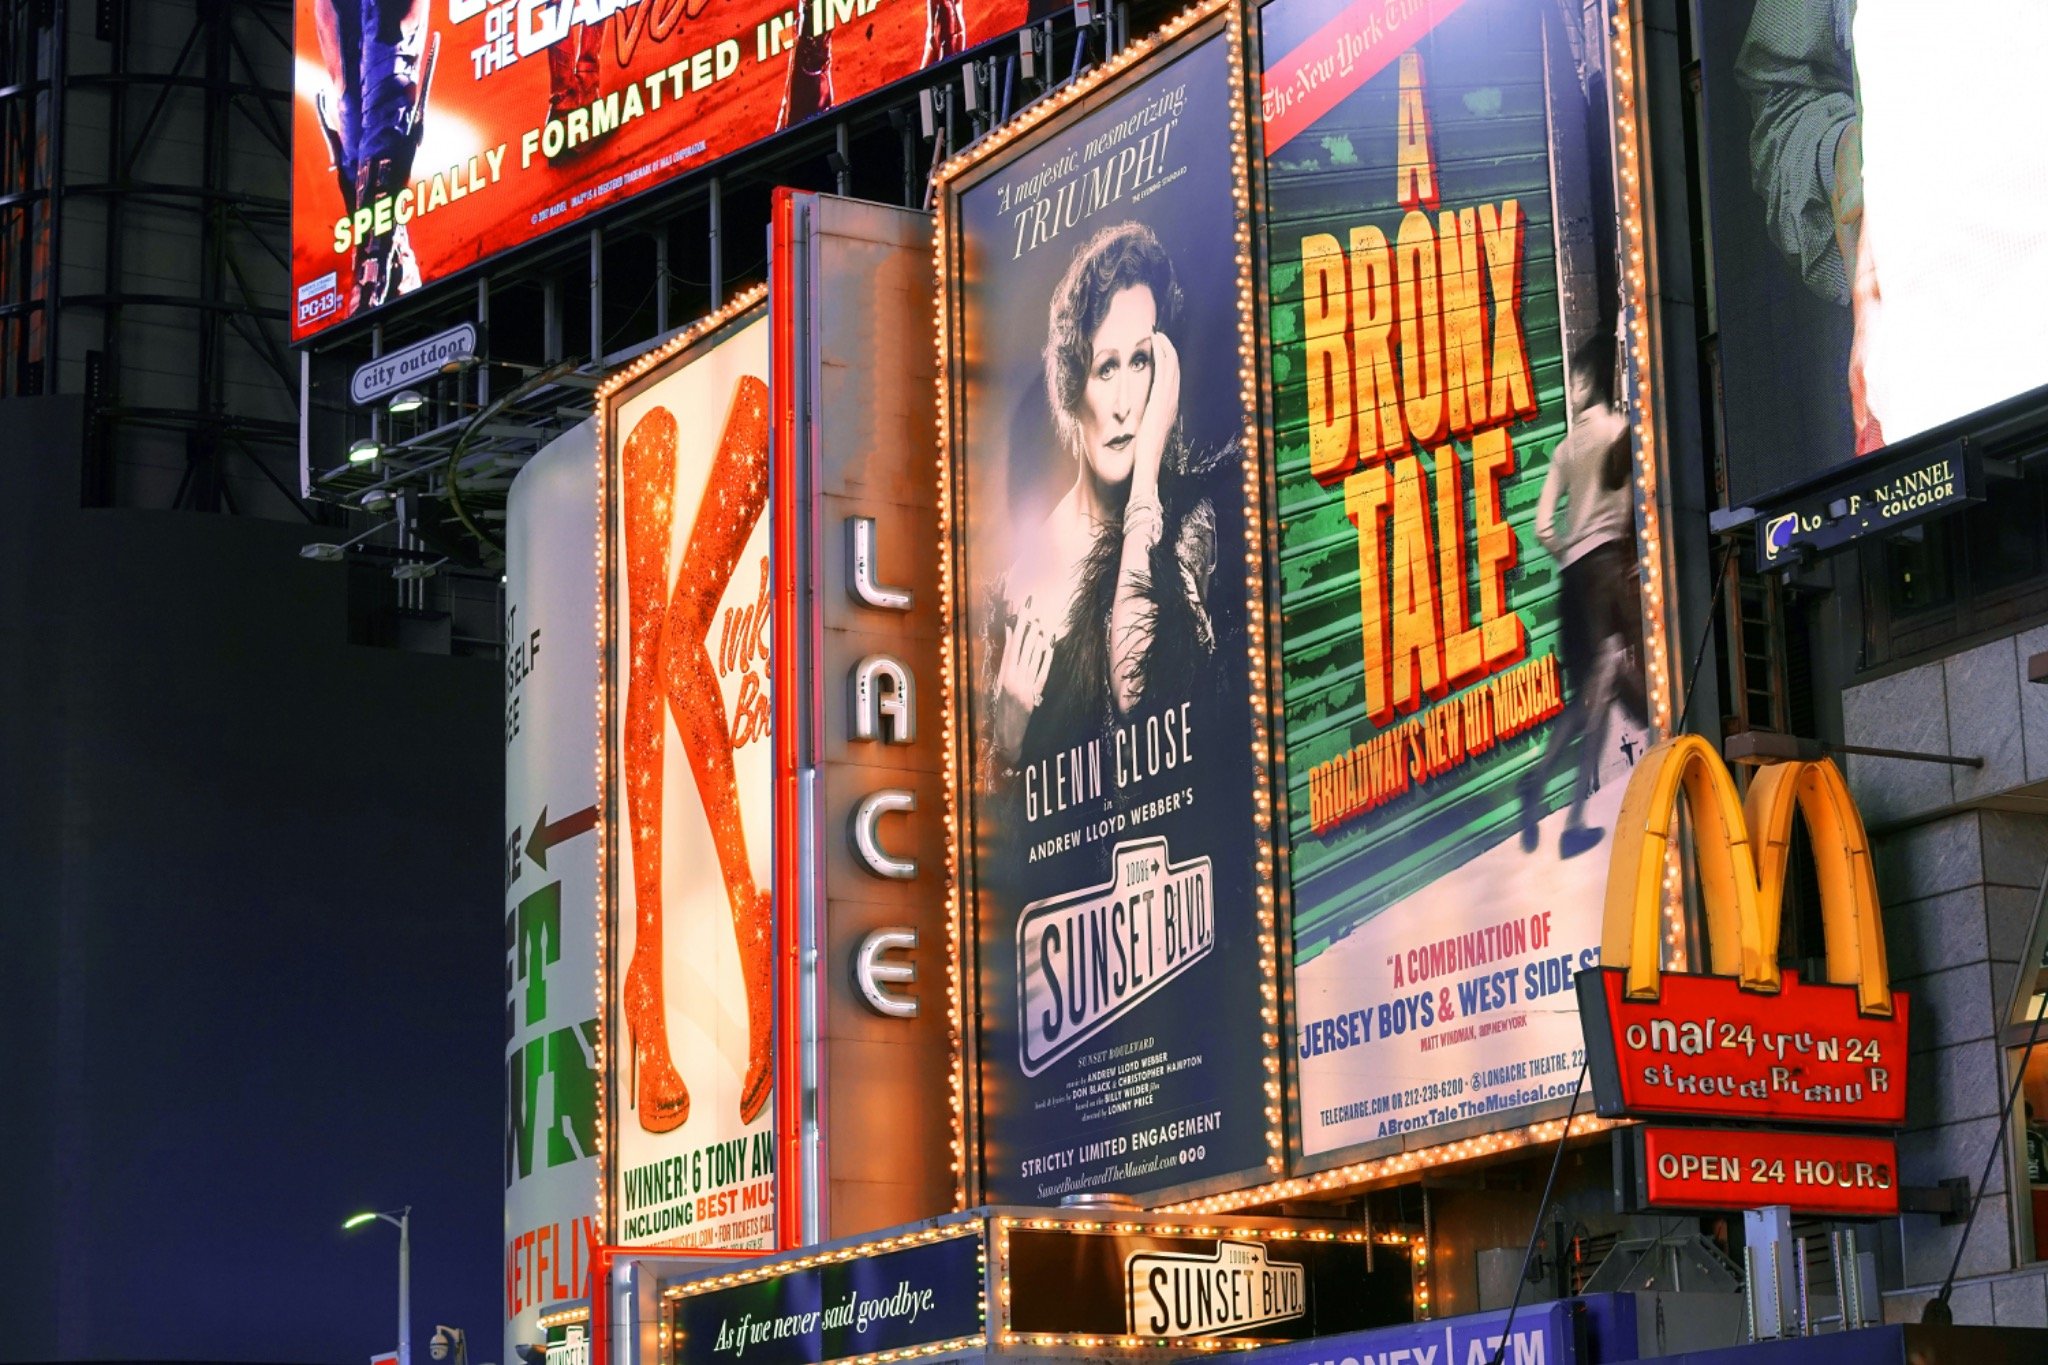
How to prepare an advertising banner for printing? A complete guide
Doloribus vel blanditiis non, aliquid deserunt reiciendis doloribus at vel error necessitatibus det.
Advertising banners are one of the most effective and widely used outdoor advertising tools. From large-scale billboard campaigns to compact indoor advertising displays, a well-designed and high-quality printed banner can significantly enhance brand recognition and attract new customers.
But how do you prepare a file for printing to ensure the final result is flawless? This guide covers all essential aspects—from creating an advertising banner and selecting the right dimensions to understanding the technical print specifications.
How to create an advertising banner? The first step: defining your goal
Before designing an advertising banner, consider these key questions:
- What is the purpose of the banner? Is it for promoting an event, a product, a service, or for enhancing brand awareness?
- Where will it be displayed? Outdoor advertising requires a different approach than an indoor banner.
- How long will it be used? Short-term campaigns can use lighter materials, while long-term banners require weather-resistant options.
Defining these specifications will help tailor the design and printing technique accordingly.
Advertising banner sizes – how to choose?
The size of your banner depends on its purpose and placement. Here are the most common formats:
- Small banners (up to 1m²) – Ideal for indoor advertising, storefronts, exhibitions, and conferences.
- Medium banners (2-5m²) – Suitable for fences and building facades.
- Large-format banners (5m² and above) – Used for outdoor advertising on buildings, billboards, or construction scaffolding.
Important! Ensure that your graphics have a sufficiently high resolution. The larger the format, the higher the quality of the source files must be. Learn more about resolution in our article.
Designing an advertising banner: key principles
Simplicity and readability
Less is more—a banner should be understood in just a few seconds. Avoid information overload.
Essential Elements:
✔ Company logo
✔ Short advertising slogan
✔ Contact information (phone number, website)
Tip! Use the "3-second rule" – if a viewer cannot grasp the message within three seconds, simplify the design.
Color selection and contrast
High-contrast combinations improve readability (e.g., white text on a dark background or vice versa).
Using your brand's color scheme ensures consistency and recognition.
Avoid complex gradients and fine lines, as they may not print well in large formats.
Font selection
Clarity is key—decorative and overly complex fonts hinder readability.
Recommended fonts: Arial, Helvetica, Montserrat, Open Sans.
Font size: The bigger the banner, the larger the text should be. For large formats, a minimum text size of 7-10 cm is recommended.
Graphics and images
Image quality: Minimum resolution of 150 dpi at a 1:1 scale.
Logo and graphic formats: Vector files (SVG, AI, PDF) are preferred to avoid quality loss when scaling.
Simple composition: Too many details can make the banner difficult to read.
Preparing a banner for printing: technical specifications
To avoid printing errors, follow these guidelines when preparing the banner for print:
File format – PDF, TIFF, or EPS are preferred.
Color profile – CMYK (RGB may shift in printing).
Bleed and safety margins – Leave a 5 cm margin on each side to prevent important elements from being cut off.
Resolution – Minimum of 150 dpi for large formats.
Tip! If you're unsure about your file setup, consult with the printing company before placing an order.
Printing advertising banners: choosing the right material
The choice of material affects the durability and appearance of the banner. Here are the main types:
Standard banner (Frontlit) – Durable and suitable for most advertising campaigns.
Mesh banner – Allows air to pass through, making it ideal for building facades and fences.
Blockout banner – Enables double-sided printing, perfect for hanging structures.
Reflective banner – Designed for advertisements that need to be visible at night.
Choosing the right material is crucial for ensuring the banner's resistance to weather conditions!
Conclusion
A well-crafted advertising banner is a powerful marketing tool. The key preparation steps include:
Defining the banner's goal and size.
Creating a simple, clear, and visually appealing design.
Preparing the banner for printing according to technical requirements.
Selecting the most suitable material for its intended use.
For top-quality advertising banner printing, reach out to Four zeros. We guarantee durability, exceptional quality, and support at every stage of production.
Get in touch today to create an eye-catching custom advertising banner that highlights your brand's uniqueness!
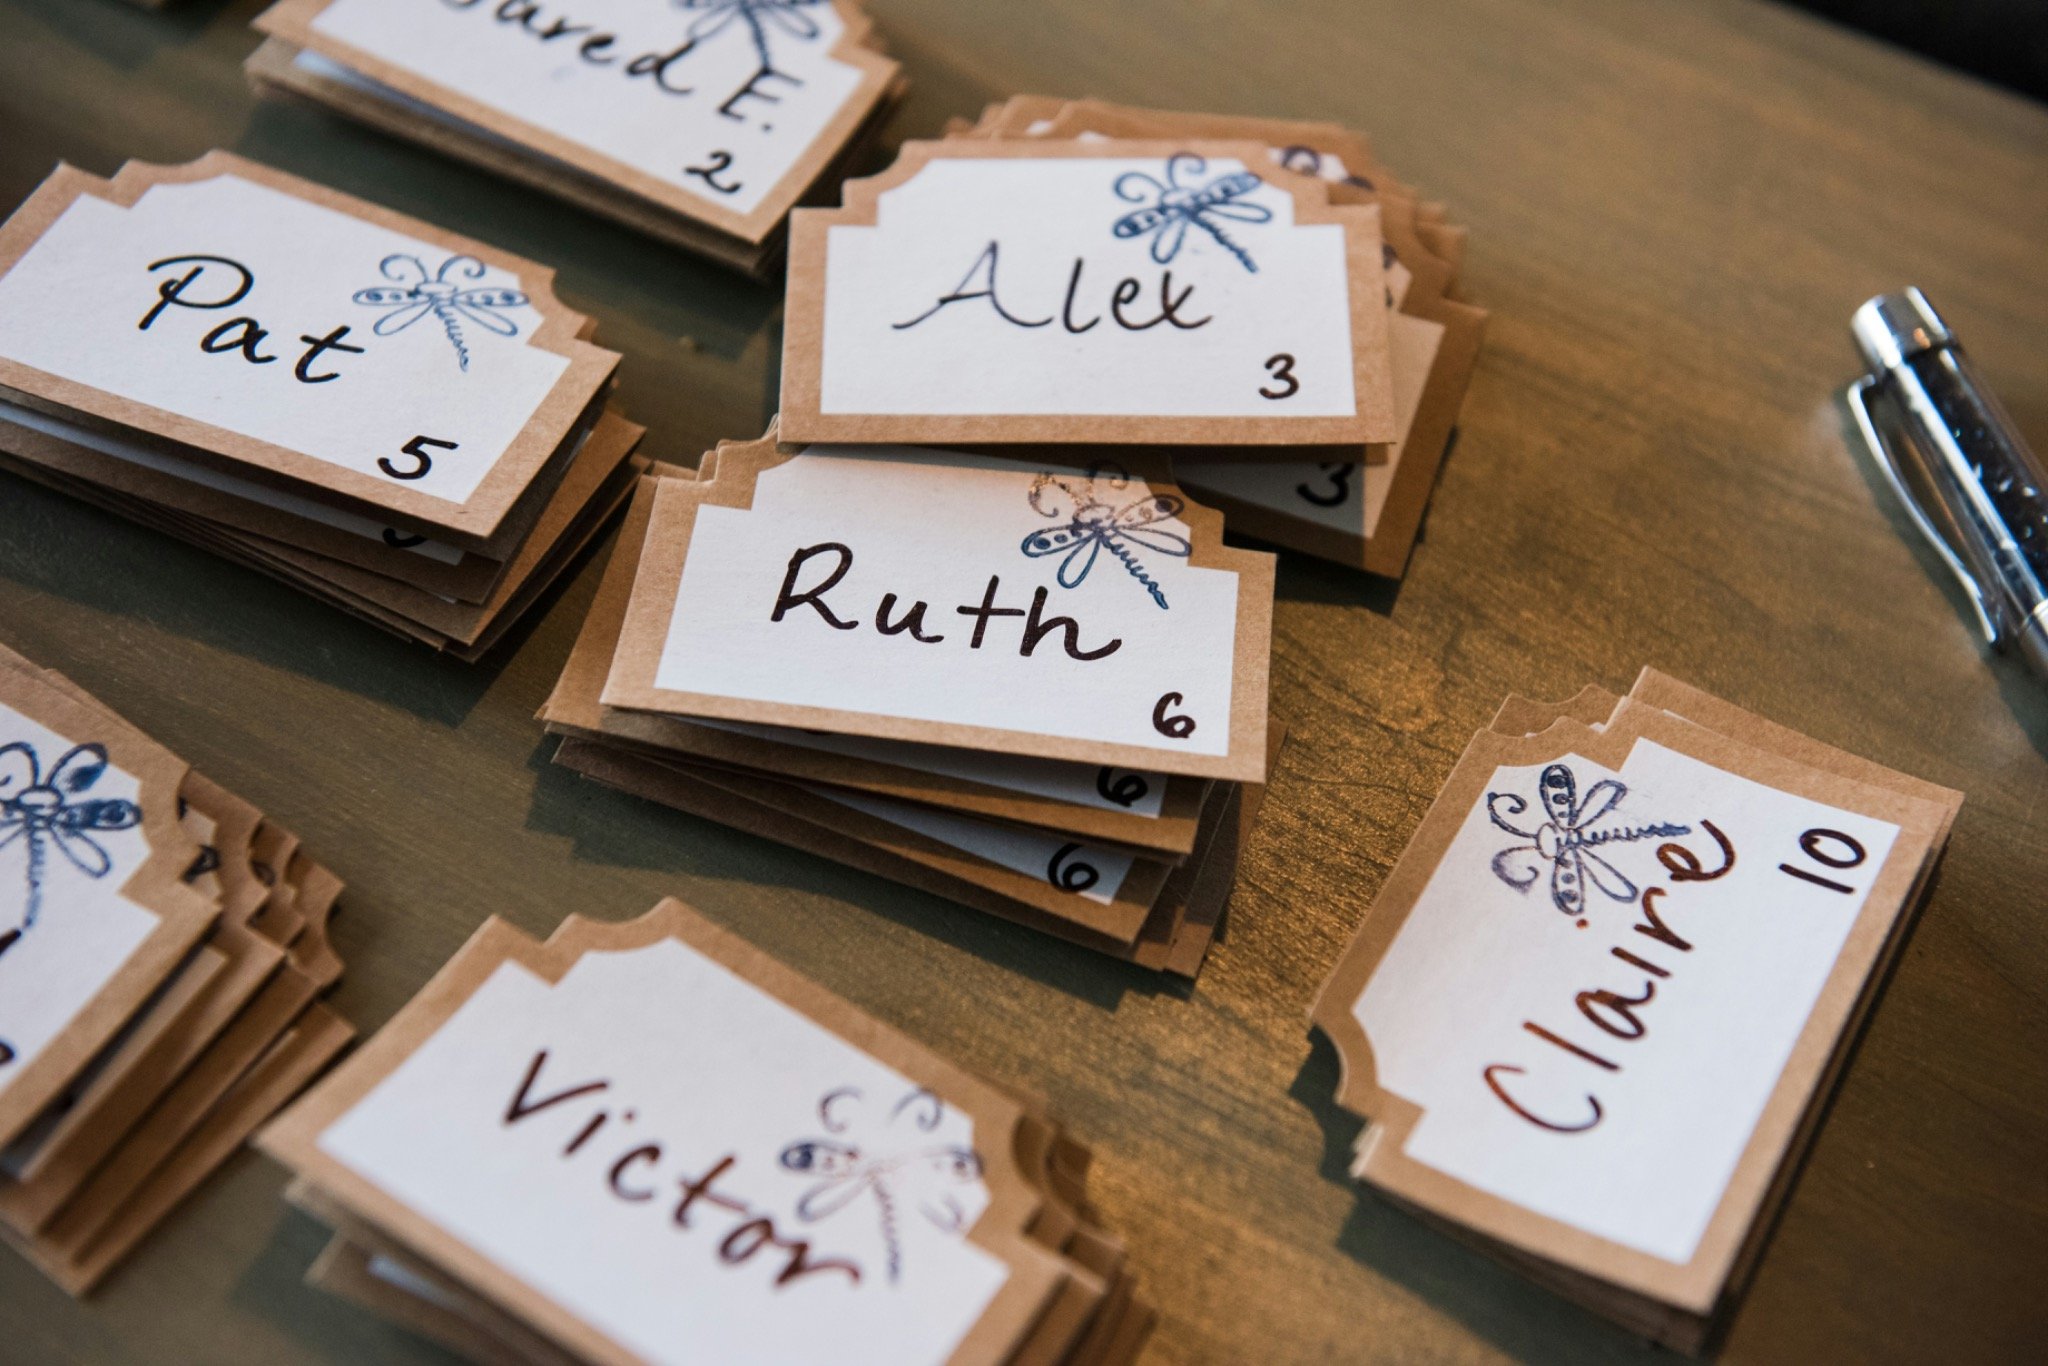
How to prepare guest nameplates and a seating chart for a special event?
Doloribus vel blanditiis non, aliquid deserunt reiciendis doloribus at vel error necessitatibus det.
Planning a wedding, an elegant reception, a corporate banquet, or a formal dinner? Guest nameplates and seating charts are essential details that contribute to a refined atmosphere and ensure a seamless experience for your attendees. These elements help guests find their seats while maintaining organization and a cohesive aesthetic. In this article, you'll learn how to create thoughtful guest name cards and a seating chart to impress your guests and avoid any confusion.
Why should you use guest nameplates and a seating chart?
Guest nameplates and a seating chart are not just decorative elements but also essential tools for organizing your event. Here are a few reasons why they are necessary:
- Efficient organization – guests can easily find their seats, and the staff knows exactly where to direct them
- Personalized touch – individually designed guest name cards and a seating chart add a sense of elegance and style to your event
- Aesthetics and prestige – beautiful nameplates and an elegant seating chart blend seamlessly into the overall table and venue décor
- Seating control – you can plan the seating arrangement in advance to ensure a comfortable atmosphere for everyone
How to design guest nameplates?
1. Choosing the style and format of the nameplates
Start by determining the style of the event – classic, modern, minimalist, or perhaps boho? Guest nameplates should align with the overall décor and color scheme.
Popular nameplate formats:
- Classic folded nameplates – stand on the table and display the guest’s name
- Flat name cards – placed on the plate or in special holders
- Name cards on items – attached to glasses, bottles, or decorative elements
2. How to print guest nameplates?
The process of printing guest name cards depends on several factors:
- Paper type – it’s recommended to use heavy paper (250–350 g/m²) for durability and a refined appearance
- Font – the font should be easy to read and match the overall style (e.g., elegant calligraphy for weddings, minimalist fonts for corporate events)
- Additional effects – gold embossing, spot gloss, foiling, or other decorative elements can be used for an elegant look
📌 Tip! For perfect print quality, consider ordering your guest name cards from a professional print service, such as Four zeros.
How to prepare a seating chart for guests?
1. Choosing the format of the seating chart
The main options are:
- Poster-style chart – a large printed poster with a guest list
- Easel chart – a stylish option, popular for weddings
- Interactive chart – cards are attached to a board, and guests pick their own cards
2. Seating chart design
To make the seating chart both functional and aesthetically pleasing, consider the following aspects:
- Easy name search – guests should be able to find their names effortlessly. You can organize them alphabetically or group them by tables
- Readable font – the font should be large, clear, and easy to read
- Harmonious design – colors, graphics, and fonts should match the event’s style
- Durable material – the seating chart should be printed on high-quality material, such as heavy paper or a plastic base
📌 Tip! A wedding seating chart can be further decorated with a frame, LED lighting, or floral arrangements.
How to order printing of guest nameplates and seating charts?
Professional printing of guest name cards and seating charts ensures an elegant look for your event. Four zeros print service offers high-quality nameplates, customization, and additional decorative effects that will make your materials luxurious.
We offer:
- Guest nameplates for the table – a variety of paper types, decorative effects, and customization options
- Seating chart – printed on heavy paper, PVC, or wooden bases
- Custom design – we create cards and seating charts tailored to your preferences
Conclusion
Well-designed place cards and a seating chart are essential organisational elements that give your event a unique style and help avoid confusion. With professional digital printing, your wedding, gala or banquet will be flawlessly executed.
If you want to order the printing of nameplates and a seating chart, contact Four zeros – we will ensure perfect quality, an elegant look, and a harmonious design for your event.
Get in touch with us today and create a unique atmosphere for your celebration!